Progress report on the building of Duck Flat Wooden Boats "Coorong Traveller"
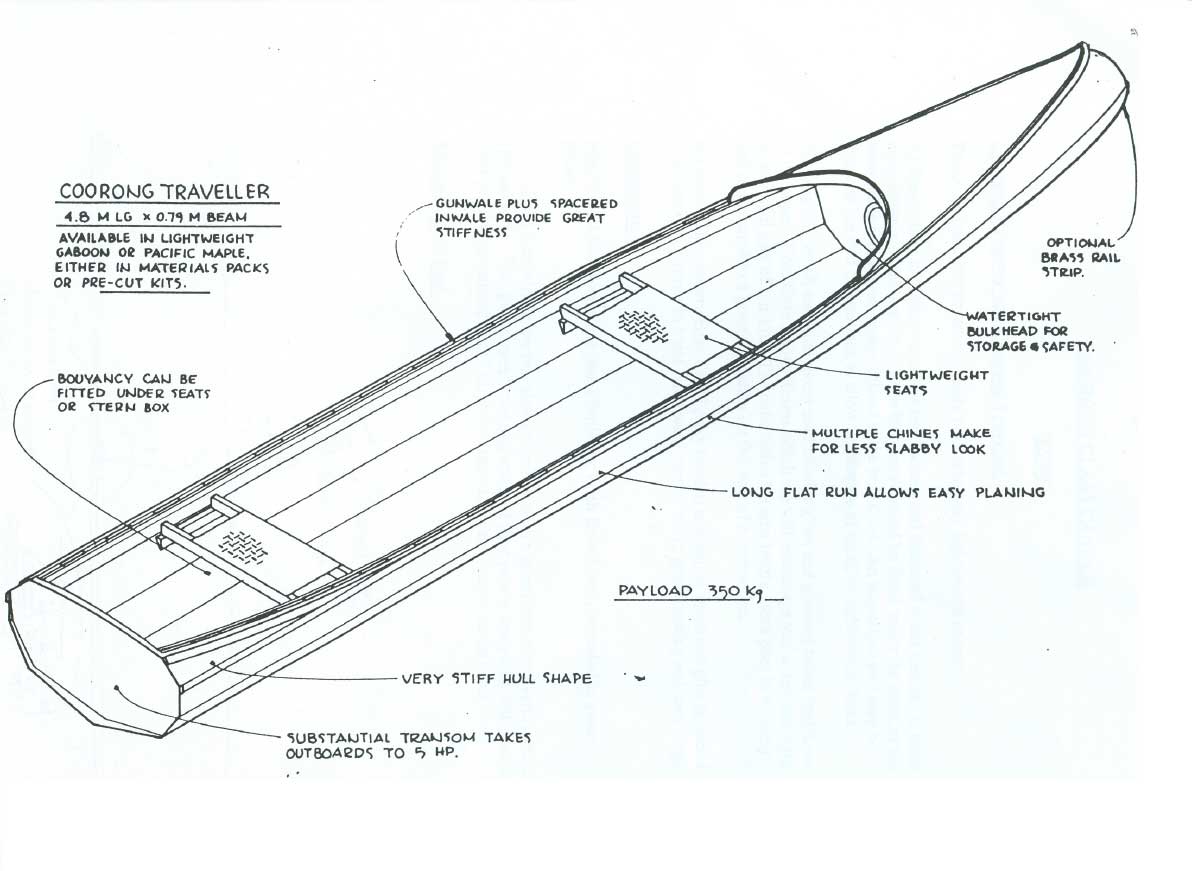
This little boat is just under 16' long, has a canoe stem and a small transom at the stern for outboards up to 5Hp. I will be using a 44lb thrust, 12volt trolling motor with two deep-cycle 12v lead acid batteries in parallel.
Stage 1
Join two sheets of 1220mm x 2440mm 6mm marine plywood together with butt strap
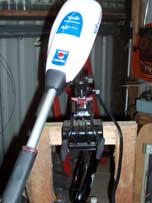
[no picture...not very exciting but I did buy the motor when K-Mart had 25% off for about $A280]
Stage 2
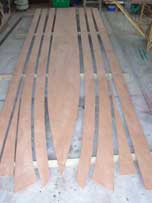
Mark and cut out the plywood
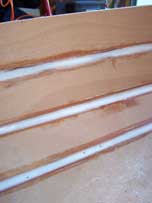
[click on images to enlarge]

Stage 3
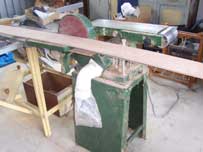
Sand each plank down to the line as accurately as possible. I am using a 9" disk sander
and collecting the dust to use in the epoxy for fillets.
Stage 4
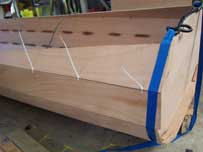
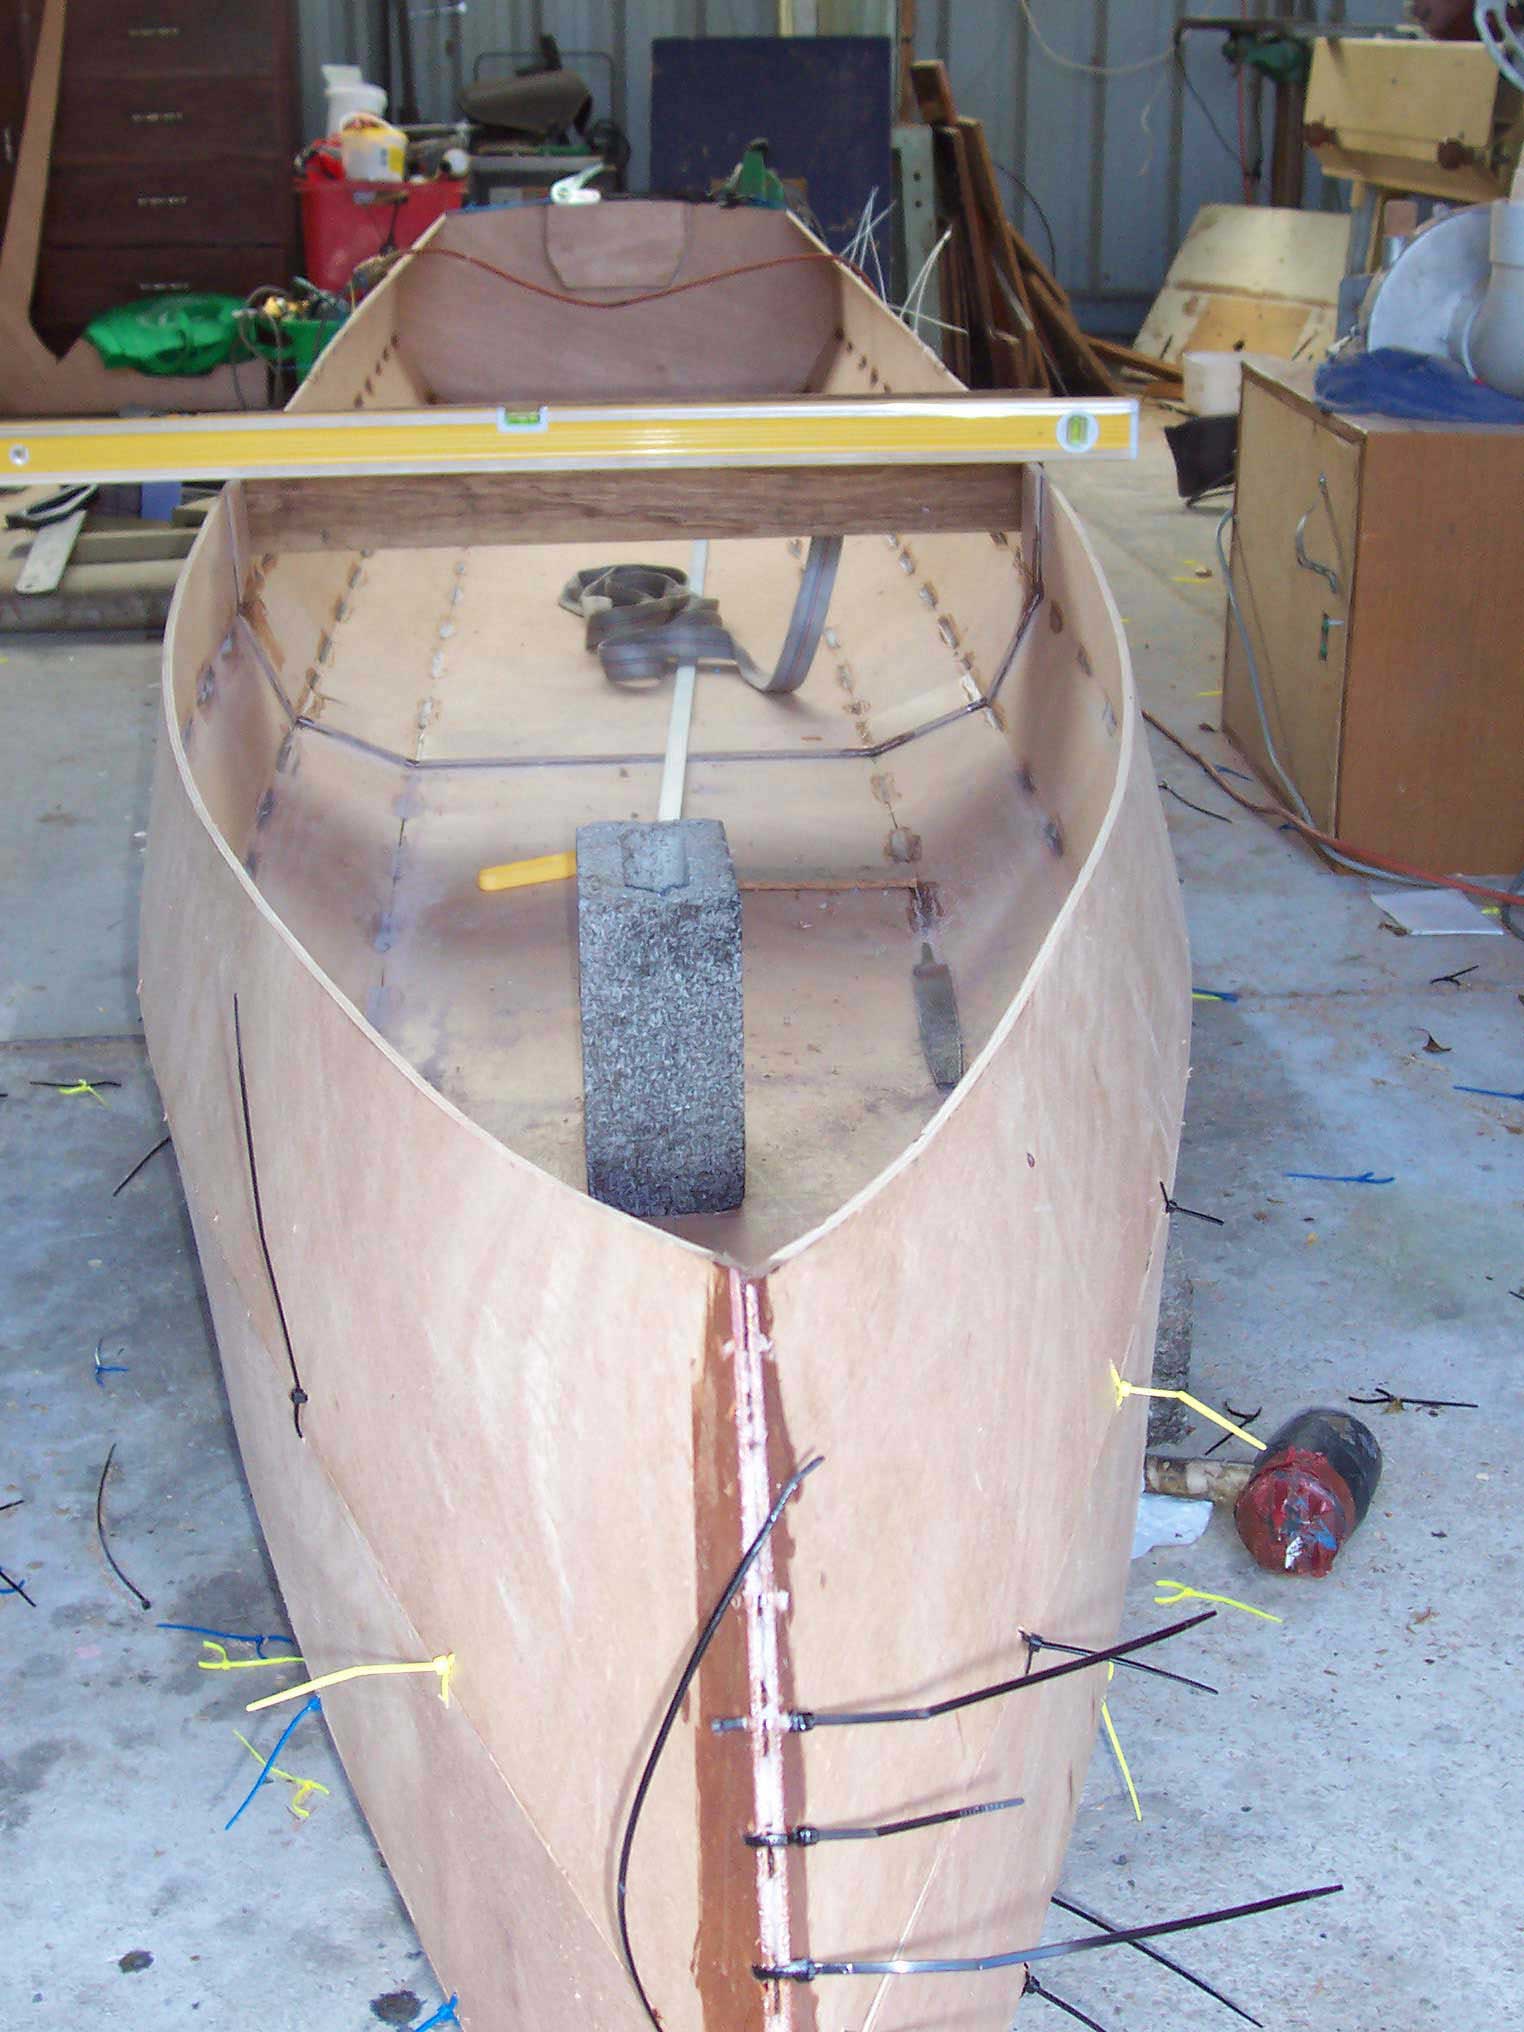
Once everything is checked for size, stitching of the panels began. For this I used cable ties.
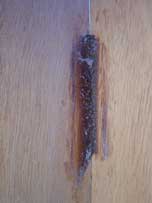
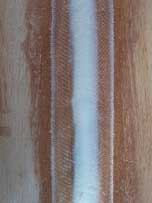
This photo shows dark patches of epoxy/wood flour welds between stitches. The lower ones have been removed while the upper panel has yet to be tacked in place. The transom is 12mm with a 12mm ply block for the electric outboard clamps.
Issue with plans?
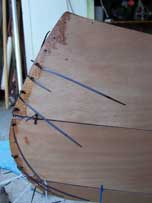
Each side of the boat is made up of three panels. I couldn't line them all up until I swapped the middle panels from side to side hence fitting them upside down. The bow worked perfectly but the middle panels were then 15mm too short. The instructions said to stitch from the middle to the ends, but this only worked for the chine panels. The rest were lined up at the bow and stitched back.
Note how the butt strap of the second panel down doesn't line up by 15mm!
These will be hidden in the battery compartment when finished so I didn't worry about them.
[Click here for a movie - 2.5Mb]
Stage 5
The filleting process then began using
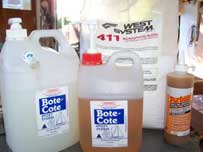
West system 411 Microsphere blend lightweight filler
I only used the 411 because it was easiest to find here in Tasmania.
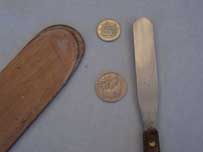
My favourite tools are...
...but I will have to buy another spatular to replace the one I took from the kitchen drawer!
I bought 12 litres of 411 which will be plenty. (Cost about $A80)
The first fillet done followed John Welsford's "wet on wet" process but fillet seemed to soften more when the tape was applied and it was difficult to finish it nicely. I covered it with kitchen wrap and rolled across the fillet with a hard 50mm roller which did the job. When I received the ply (3 sheets of 6mm Gaboon {$A75/sheet}) I decided to paint the boat as the finish on the ply was absolute rubbish. So I wasn't really very fussy about the fillets either.
The rest of the boat was filleted and then left to set before a light sand and taping.
The internal filleting only took about one hour, but the taping took another 2.5.
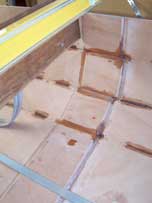
Fresh epoxy fillet and taped fillet awaiting final epoxy coating
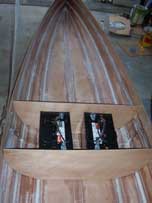
Just contemplating some additional bouyancy due to the batteries (about 25kg each) so will build the rear seat on a sealed ply box. A bouyancy tank is described in the plans located about the centre of the boat but that's where the batteries will have to sit. I have made it large enough for two 120Ah batteries but will use 100Ah ones to start with. There is also a sealed compartment in the bow that is just over 1050mm in length with a plastic inspection port.[See drawing]
Stage 6
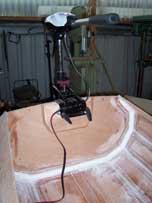
Busy weekend but finished installing the transom. Held it in place with plasterboard screws and placed a 50mm dia fillet around the inside edge with two layers of tape staggered along their length. Used a lot more filler than I imagined and I am glad my first stitch-&-glue project wasn't much larger. Couldn't help myself, so clamped on the motor to see how it would work. I was concerned about the angle of the transom and the lack of fine adjustment on the motor mount. The motor has a slight down thrust which may actuall help the hull to sit flatter. I will try some packing under the clamp down the track while taking readings of the speed and amps drawn.
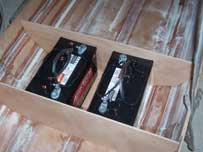
Bought the batteries today as the prices seem to be going up every week and I wanted to make sure they fit the box.
I chose Amp-Tech D70Z from Supercharge Batteries. They are deep-cycle and provide 105A/H at the 20 hour rate. My motor is said to draw 35Amps maximum but in the Coorong I am not expecting it to be that high...say..25A max. With two batteries in parallel that gives me 210A/H and I am just over the 10% recommended drain which I can live with. I won't be running at full speed constantly I shouldn't think. If I get 5 - 6 hours without the batteries going below 50% that will be excellent.
Finished the battery box filleting and decided to tape the bulkheads as well so I don't end u with a couple of acid-filled batteries in my lap if the going gets rough. Also doubled the floor in the compartment so batteries sit on non-slip mat on 12mm ply floor. Running out of height though so the lid will need to be about the level of the gunwale with ventilation. I will loosely pack around batteries with closed cell foam so I can easily remove them if I choose not to trailer the Coorong.
Hull just hanging around waiting for filler and tape. Probably only spent around 25 hours so far but with family commitments seems a lot longer.
March 05, 2008
Contact the builder: B Kennedy
© 2008 Brent Kennedy
